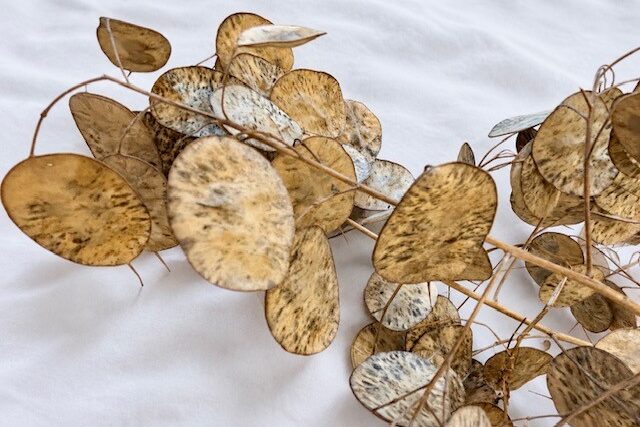
Seed Collecting: Next Year’s Garden Is Already Out There
Notes from a seed-collecting workshop with Nancy Schettler.
Fall 2026
By late September, when you start cutting back your garden, take a look around and see whether any of the dried flower heads or browned seed pods may be holding next year’s garden. You might clean it all up or let nature take its course, feeding birds and wildlife while seeds drop and drift wherever they end up. Or you might collect some yourself and choose where to grow them next year or who to share them with. The seed already out there is free for the taking, though turning it into next year’s garden takes a little work.
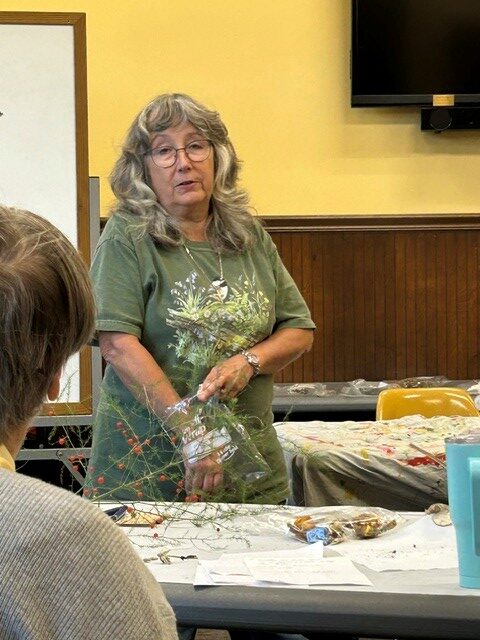
At a recent OPGC seed-collecting workshop, member Nancy Schettler brought in an assortment of dried seed heads and pods from her own garden. We spent the next hour looking closely at each plant, pulling apart flower heads, cracking open pods and passing tiny seeds around the room while learning where they form and how to tell when they are ready to collect.
Having your own seeds on hand means you can start plants on your own schedule, save favorites from your garden and spend less buying them again. There is a certain sense of independence in having some of next year’s garden already tucked away in envelopes, ready when you are.
Wait until the seed is ready
Probably the most important rule is also the easiest to ignore: don’t collect too soon. With most flowers that produce dry seed, leave the head or pod in place until it has turned brown, papery and dry. Let the seed finish maturing, but get there before the plant distributes it for you.
Some give you a very short window. Columbine pods split open and their tiny seeds spill or shake out easily. Petunia capsules also dry and split, releasing very fine seed. Sweet peas and impatiens go a step further: their pods can open suddenly and fling the seeds away. Milkweed uses wind dispersal; once the pod opens, its silky seeds can be carried off quickly. These are all worth watching closely as they ripen.
Other seeds take longer. Sunflower seeds should stay in the flower head until the back has yellowed or browned and the seeds are fully developed. Beans and peas also need time on the plant, with the pods left to dry and turn brown before the seeds inside are ready to collect.
Learn where each plant keeps its seed
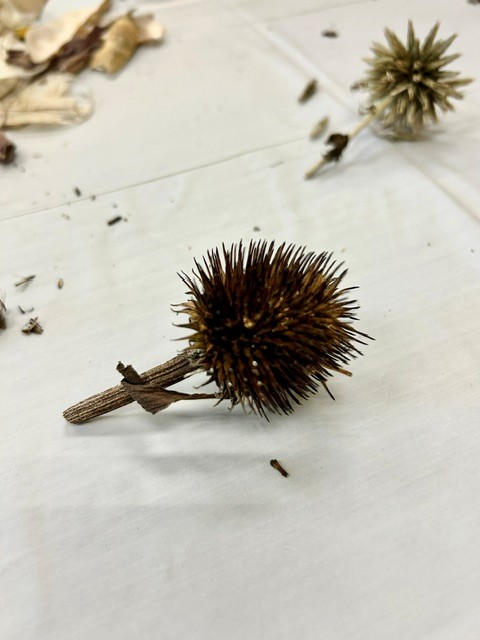
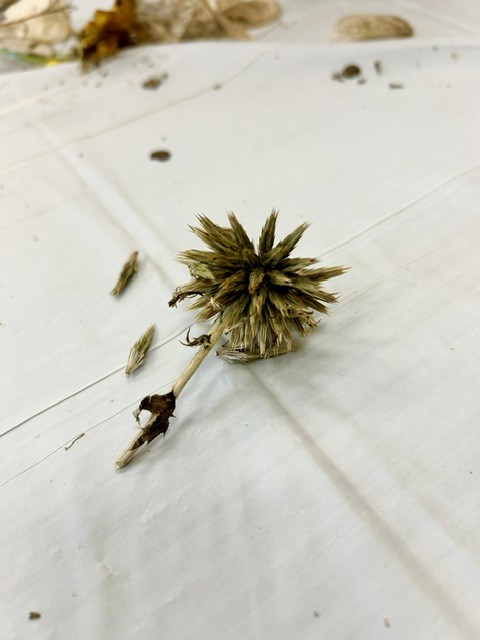
Some seeds do a really good job of hiding. Coneflower (Echinacea) seeds are tucked into the prickly seed head, testing both your patience and your fingertips, so gloves are recommended. Globe thistle produces a seed within each tiny floret. Snapdragon forms a dry capsule that looks a bit like a tiny skull, with small black seeds rattling around inside. Black-eyed Susan (Rudbeckia) packs many tiny seeds into its dark center; once the head is brown and dry, rubbing or shaking it helps release them.
Dry seeds and wet seeds need different treatment
Mature seeds should be kept dry, so collecting them during a stretch of dry weather makes the job easier. If that isn’t possible, spread them out in a dry, well-ventilated place and put them into paper envelopes only once they are thoroughly dry. You can even fold your own seed packets from ordinary paper.
Vegetables with fleshy fruit are a little different. Tomato seeds, for example, are surrounded by slippery pulp and a gelatinous coating. A traditional method is to scoop the seeds and pulp into a small container with a little water and let the mixture ferment for a few days. The seeds are then rinsed clean and spread out to dry thoroughly before storage.
Cucumbers can be handled in much the same way, while peppers, melons, squash and pumpkins generally need only to have their seeds removed, cleaned and thoroughly dried. Each plant is a little different, so check the particular crop before saving its seed.
Know what you are saving
Seeds will not always produce a plant that is true to the parent. Seeds from hybrid plants, often marked F1 on the seed packet, may produce offspring that differ in height, flower color, fruit size or other characteristics. For more predictable results, save seed from open-pollinated varieties, including heirlooms.
Even open-pollinated plants can cross with another compatible variety growing nearby, so the next generation may not remain true to type. For gardeners who simply enjoy seeing what comes up, that may not matter. For anyone trying to preserve a particular variety, it does.
Tomatoes, beans and peas are among the easiest vegetables for beginning seed savers because they usually self-pollinate, although occasional crossing can still occur.
Saving the seeds
Once thoroughly dry, place the seeds in a labeled envelope or packet. Write down the plant name, the variety if you know it, and the year it was collected.
Don’t rely on your memory, no matter how good it is. Once seeds dry and shrivel, come February they may all look remarkably similar. Parsnip seed is best used within about a year, while cabbage seed can remain viable for several years, so a label saves you from guessing.
Keep the packets somewhere cool and dry. For longer storage, place them inside a tightly closed container; a packet of silica gel can help keep moisture low.
Before you clean up
Once your seeds are cleaned, dried and labeled, the next step depends on the plant. Some, such as tomatoes and peppers, are best started indoors several weeks before the last frost. Others, including beans and many annual flowers, can be sown directly into the garden once the danger of frost has passed.
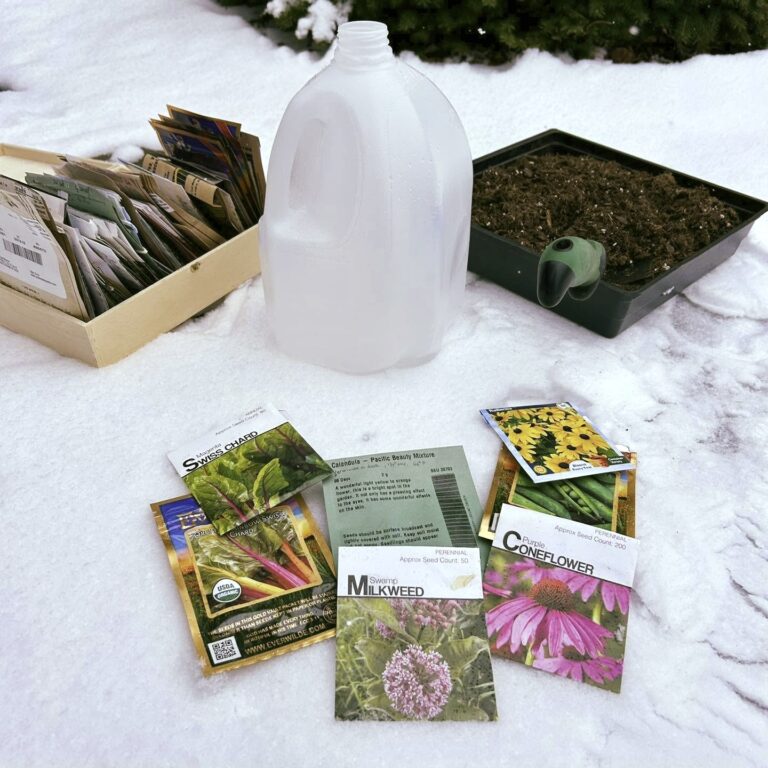
Some perennial and native plant seeds need a period of cold, moist stratification before they will germinate. This can be provided in the refrigerator or naturally outdoors by winter sowing in containers. Many hardy species can also be sown directly in the garden in late fall and go through cold stratification naturally.
That is part of the pleasure of saving seed: what looks like the end of the garden season is really the beginning of the next one.